(Note: The code for this project at this point in our progress can be downloaded from Github at commit: 82df0f2fd5bdc91d5599aa1c40faacca38766327)
Deep Breath
This is going to be a lengthy installment. We've done a lot of setup, including creating a fully functioning server with REST endpoints and wiring up our front-end dependency management. Today, we are going to make a lot of small steps that when put together will give us a completely functional single page application with routing, an event bus, and dynamic views. Let's start by adding our third party dependencies.
Bower
We're going to be installing Backbone, which has a dependency on Underscore and jQuery, for our MVC framework and Handlebars for our templating framework. We'll also be adding a couple of plugins for Require that will make loading our templates easy.
To install the whole lot, run:
bower install backbone underscore jquery handlebars requirejs-text require-handlebars-plugin --save
When complete, you'll see your bower.json file has been updated and a bunch of new libraries has been installed under public/components. These libraries all have different directory structures and since they don't live under our app directory, we are going to create shortcuts for Require to use when loading them.
In our require-main.js file, add the following entries to the paths block;
paths: {
    "jquery": "../components/jquery/dist/jquery",
    "underscore": "../components/underscore/underscore",
    "backbone": "../components/backbone/backbone",
    "handlebars": "../components/handlebars/handlebars.amd",
    "text": "../components/requirejs-text/text",
    "hbs": "../components/require-handlebars-plugin/hbs"
}
These are the paths to the main Javascript file in each of the libraries. You'll notice each is prefixed with ../. This is because we set our baseUrl to app, so we need to adjust for that. We've also left the .js off the file name. If you look in the libraries, you'll see some come with pregenerated minified versions. At this point in development, I prefer using the full version to make debugging easier. We can worry about optimization later. Also note, we used the .amd version of Handlebars. This is the module format that Require uses so picking this flavor will let us work with it without having to create any shims.
Routing and Our Home Page
The heart of a single page application is the routing. It is responsible for interpreting the URL and displaying the correct information on the screen. Later, it will also be responsible for ensuring that our user is authenticated and redirecting them to login if needed.
To begin, we are going to create a single route, that displays our main page layout. The layout will incorporate a container for sub-views to be displayed in and a header view to contain our navigation elements. We'll also use a partial template to display a footer at the bottom of our page. To help avoid memory leaks, we'll extend the standard Backbone View with some utility methods to clean itself up when it is closed.
All of these pieces are fairly intertwined so there is no obvious place to start. Let's start with a bit of plumbing that we will use throughout our whole app, our event bus.
Event Bus
Backbone.Events is a mixin that can be added to any object and enables that object to listen to and trigger events that other objects can listen for and react to. While, most Backbone objects have this mixin already, I find it is easier to create a specific object that we can explicitly use as an event bus.
/app/mediator.js
define(function(require){

    'use strict';

    var _ = require('underscore');
    var Backbone = require('backbone');

    return _.extend({}, Backbone.Events);

});
Simple really. We create an empty object, mixin the Events, and return it. Now, anywhere in our code we want to deal with messages, we can get a reference to this mediator and use it. There are some other interesting message patterns we may be interested in down the road, such as Commands and Requests. You can look at the Backbone.Radio plugin if your app needs these features.
Home Page
Create a page directory under app to hold the related files. We'll be using the 'pods' method of organizing our files that has become popular with the Ember crowd. It will let us keep all the information for a given feature together, as opposed to organized by function(controllers, views, etc.).
Create the following files:
/app/page/pageTemplate.hbs
<div id="header"></div>
<div id="content" class="container"></div>
<div id="footer">{{> ./footerTemplate}}</div>
/app/page/headerTemplate.hbs
<header>
<div class="navbar navbar-default">
<div class="container">
<div class="navbar-header">
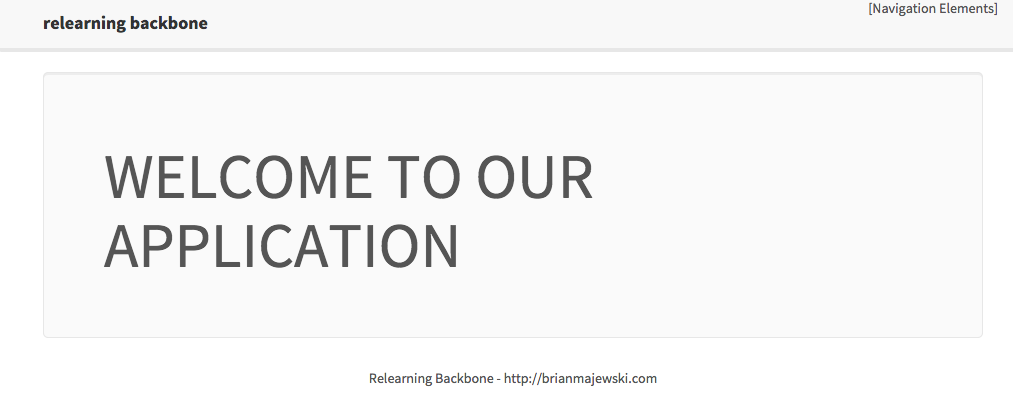
<a href="/" class="navbar-brand"><b>relearning backbone</b></a>
</div>
<ul class="nav navbar-nav navbar-right">
[Navigation Elements]
</ul>
</div>
</div>
</header>
/app/page/footerTemplate.hbs
<div class="text-center">Relearning Backbone - http://brianmajewski.com</div>
In the main template, we define three divs that will contain our header, main content, and footer. Since the footer is going to be static content, we could have easily included it in the page but this is a way to validate that partial templates are being included.
For now, there is no functionality in the header, so let's create a very simple Backbone view that renders the template.
/app/page/headerView.js
define(function (require) {

    'use strict';

    var Backbone = require('backbone');
    var template = require('hbs!page/headerTemplate');

    return Backbone.View.extend({
        el: '#header',

        render: function(){
            this.$el.html(template());
            return this;
        }
    });
});
There is that define(function (require){}); syntax again. I always include 'use strict'; as a matter of habit. Next, we use Require to include the Backbone library and the template. Note the syntax for the template: hbs!page/headerTemplate - hbs! tells require to use the hbs plugin we configured earlier, followed by the path to the template. It assumes a .hbs extension, but can be configured to accept others.
The rest is simple Backbone view stuff. We define the page element to attach the view to (el: '#header'), and then we define the render function, using the template as is to generate the html. As a matter of course, we will always return a reference to the view when we render it.
Now, let's create the containing Page view that will hold the header and other content views.
/app/page/pageView.hbs
define(function (require) {

    'use strict';
    var Backbone = require('backbone');
    var mediator = require('mediator');
    var template = require('hbs!page/pageTemplate');
    var HeaderView = require('page/headerView');


    return Backbone.View.extend({
        el: '#page',

        initialize: function () {
            this.contentView = null;
            this.bindPageEvents();
        },

        render: function () {
            this.$el.html(template());
            this.headerView = new HeaderView();
            this.headerView.render();
            return this;
        },

        bindPageEvents: function () {
            mediator.on('page:displayView', this.displayView, this);
        },

        displayView: function (view) {
            if (this.contentView !== null) {
                this.contentView.close();
                this.contentView = null;
            }

            this.contentView = view;
            if (this.contentView) {
                this.contentView.render();
            }
        }
    });

});
This is very similar to the header. We set it's element to #page. In our render method, we instantiate the HeaderView and render it as well. In the initialize method, we create a variable to hold our content views, and set up the view to listen to messages. In bindPageEvents, we listen on the mediator for the message page:displayView and when we get it, we call the displayView method. Here, we clean up any existing content view and render the one passed to us with the message. One non-standard thing we are doing here is calling .close on the content view. Backbone has a remove method which does something similar but we are going to be a bit more aggressive in cleaning up our code. We'll add this code in when we update our main.js file.
To test this out, we need a content view. Go ahead and create the following files to provide a simple Welcome view.
/app/welcome/template.hbs
<div class="jumbotron">
    <h1>WELCOME TO OUR APPLICATION</h1>
</div>
/app/welcome/view.js
define(function (require) {

    'use strict';
    var Backbone = require('backbone');
    var template = require('hbs!welcome/template');

    return Backbone.View.extend({
        el: '#content',
        render: function() {
            this.$el.html(template());
        }
    });

});
Now we need a way for the application to display this view when we start up the app. Let's go ahead and create our router.
/app/router.js
define(function (require) {

    'use strict';
    var mediator = require('mediator');
    var Backbone = require('backbone');
    var PageView = require('page/pageView');


    return Backbone.Router.extend({
        initialize: function () {
            this.pageView = new PageView();
            this.pageView.render();
            this.bindApplicationEvents();
        },

        routes: {
            '': 'home',
            'home': 'home'
        },

        home: function () {
            console.log('routing - home');
            require(['welcome/view'], function (View) {
                mediator.trigger('page:displayView', new View());
            });
        },

        bindApplicationEvents: function () {
            mediator.on('router:navigate', this._navigate, this);
        },

        _navigate: function (context) {
            console.log('routing - trigger to ', context.route);
            this.navigate(context.route, context.options);
        }
    });

});
Let's break this down in chunks.
In our initialize function, we instantiate our Page view and render it to the screen. At this point, it has its header and footer but its content view is empty. Our router will fill in different views based on the URLs we visit. We also tell it to bindApplicationEvents. You'll see this pattern repeated. I will have the initializer of a class setup the messages/event bus for the messages it is interested in receiving. In this case, we are listening for a router:navigate message. This will allow other parts of our application to change where we are in our app without having a direct reference to the router.
In our routes object, we set up two paths, '' and 'home' that will route us to the home function.
In our home function, we require our Welcome view, which is the content view we want to display when someone hits our home page, then fire off a message, with the view attached, that our page is listening for.
Turning It On
The last step we need to take is to turn on the router. Let's update our main.js file.
/app/main.js
define(function (require) {

    var Router = require('router');
    var mediator = require('mediator');

    var router = new Router();
    Backbone.history.start({pushState: false});

    if (Backbone.history.fragment === '') {
        mediator.trigger('router:navigate', {route: 'home', options: {trigger: true}});
    }
});
Here we simply instantiate our Router, and tell Backbone to start managing our history. We've also added a little helper to ensure that when a user comes in the first time, with no URL fragment, such as /users/123, that we send them to the home page.
Fire up the server and refresh your page. You should see our fully composed page.
Extending Backbone
Remember, we wanted to add some functionality to ensure that Views we close release all their objects and events as to avoid memory leaks.
In our main.js file, under our require declarations, add the following code:
_.extend(Backbone.View.prototype, {
        // Handle cleanup of view.
        close: function () {
            if (this.beforeClose) {
                // Perform any cleanup specific to this view.
                this.beforeClose();
            }

            if (this.model) {
                // Remove all callbacks for this view's model.
                this.model.off(null, null, this);
                this.model = null;
            }

            // Something else might be named 'collection' so also check for the
            // existence of `off`
            if (this.collection && this.collection.off) {
                // Remove all callbacks for this view's collection.
                this.collection.off(null, null, this);
                this.collection = null;
            }

            // Remove all delegated events.
            this.undelegateEvents();
            this.off(null, null, this);

            // Remove all markup.
            this.$el.empty();
        }
    });
Here we extend the base View definition to add our close method. This will call a beforeClose method on a view, if it has one, for view specific cleanup. If the view has a model or collection associated with it, it turns off the model/collections's events and clears the model/collection. It then turns off the view's events and removes the contents from the DOM.
Next Steps
In our next installment, we'll create a view that retrieves our users from our REST backend and displays the results.
(The code at this state in the project can be checked out at commit: e55dbc2be4ab5e8ce883ad7e397654e346f5d135)